


In 2026, a great school website is more important than ever. A great school website should be easy to use, engaging and work on any device. Our bespoke school websites make it simple for parents, students, and staff to find important information while also reflecting the school’s unique character and community.
This article explores the best school websites of 2026, highlighting their key features and best practices that make them stand out.
Upwood Primary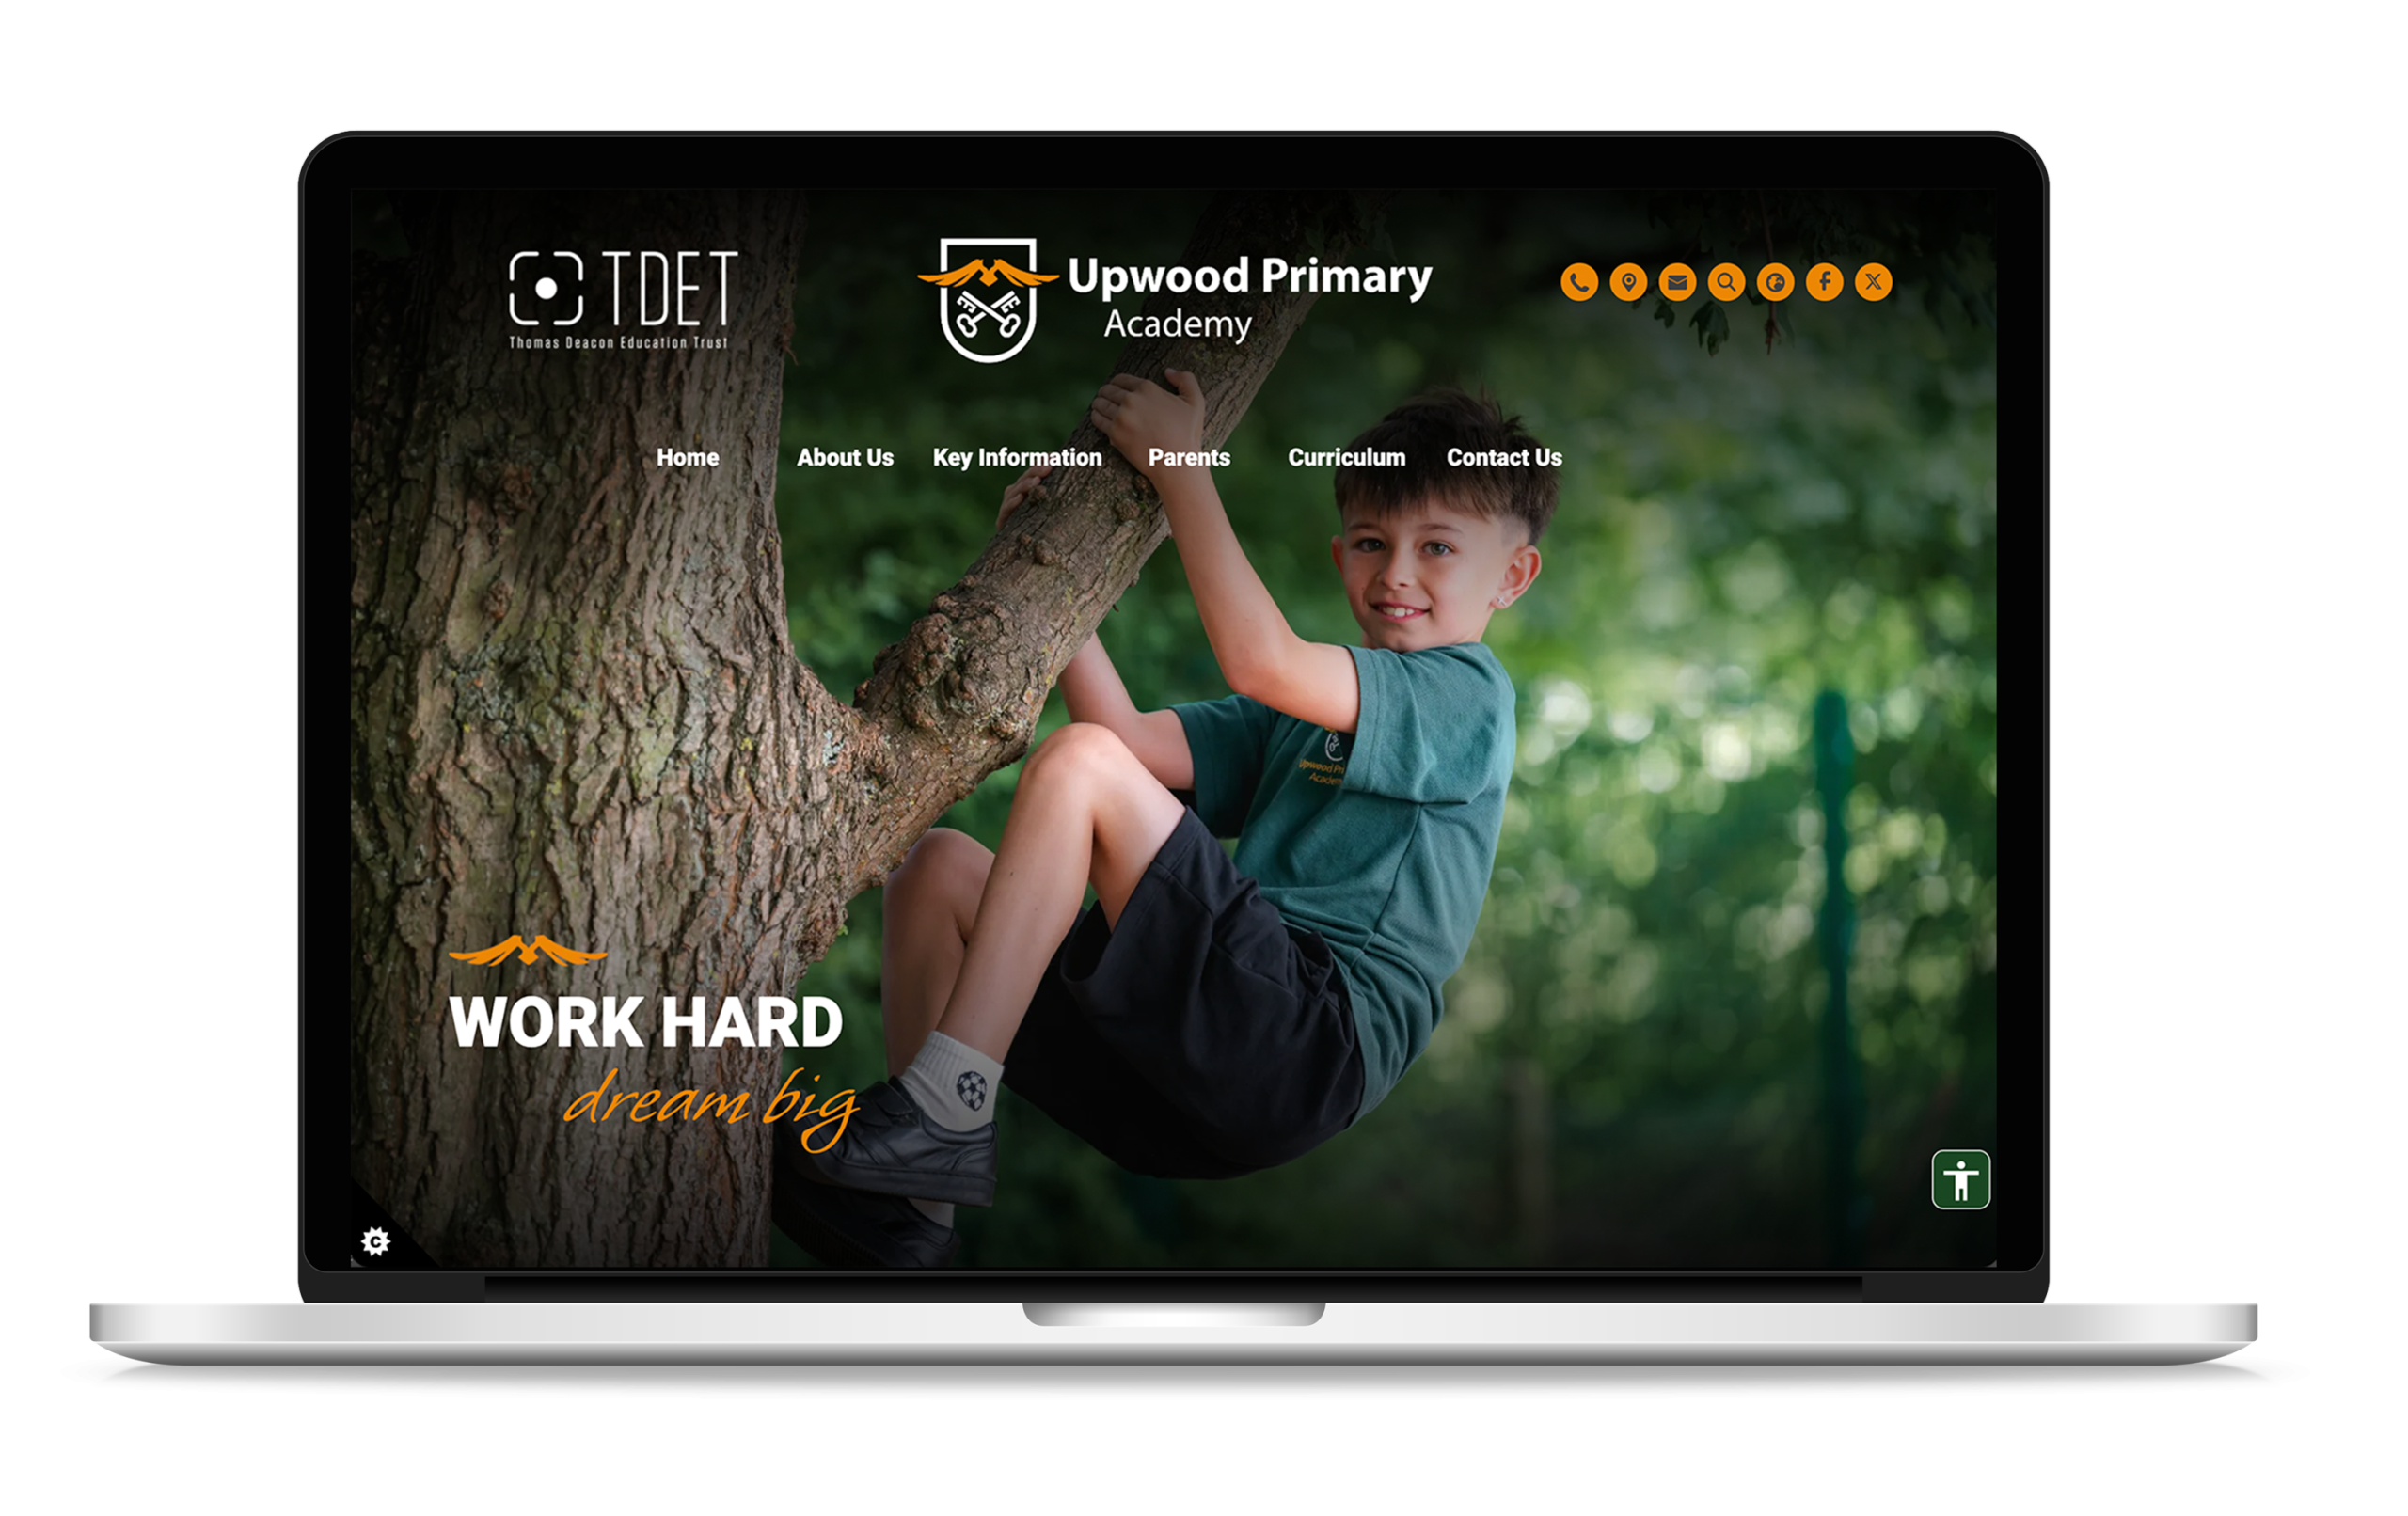
Crossley Street were looking for a high impact non scroll website that would provide an instant overview of school life to potential parents alongside clear and ofsted friendly information. We worked with the school to use their drone footage and added this onto the front of the website. We then used a clear navigation system to signpost to parents how to find information within 2 clicks. The website looks great on both mobile and desktop devices.
Alpha Preparatory School
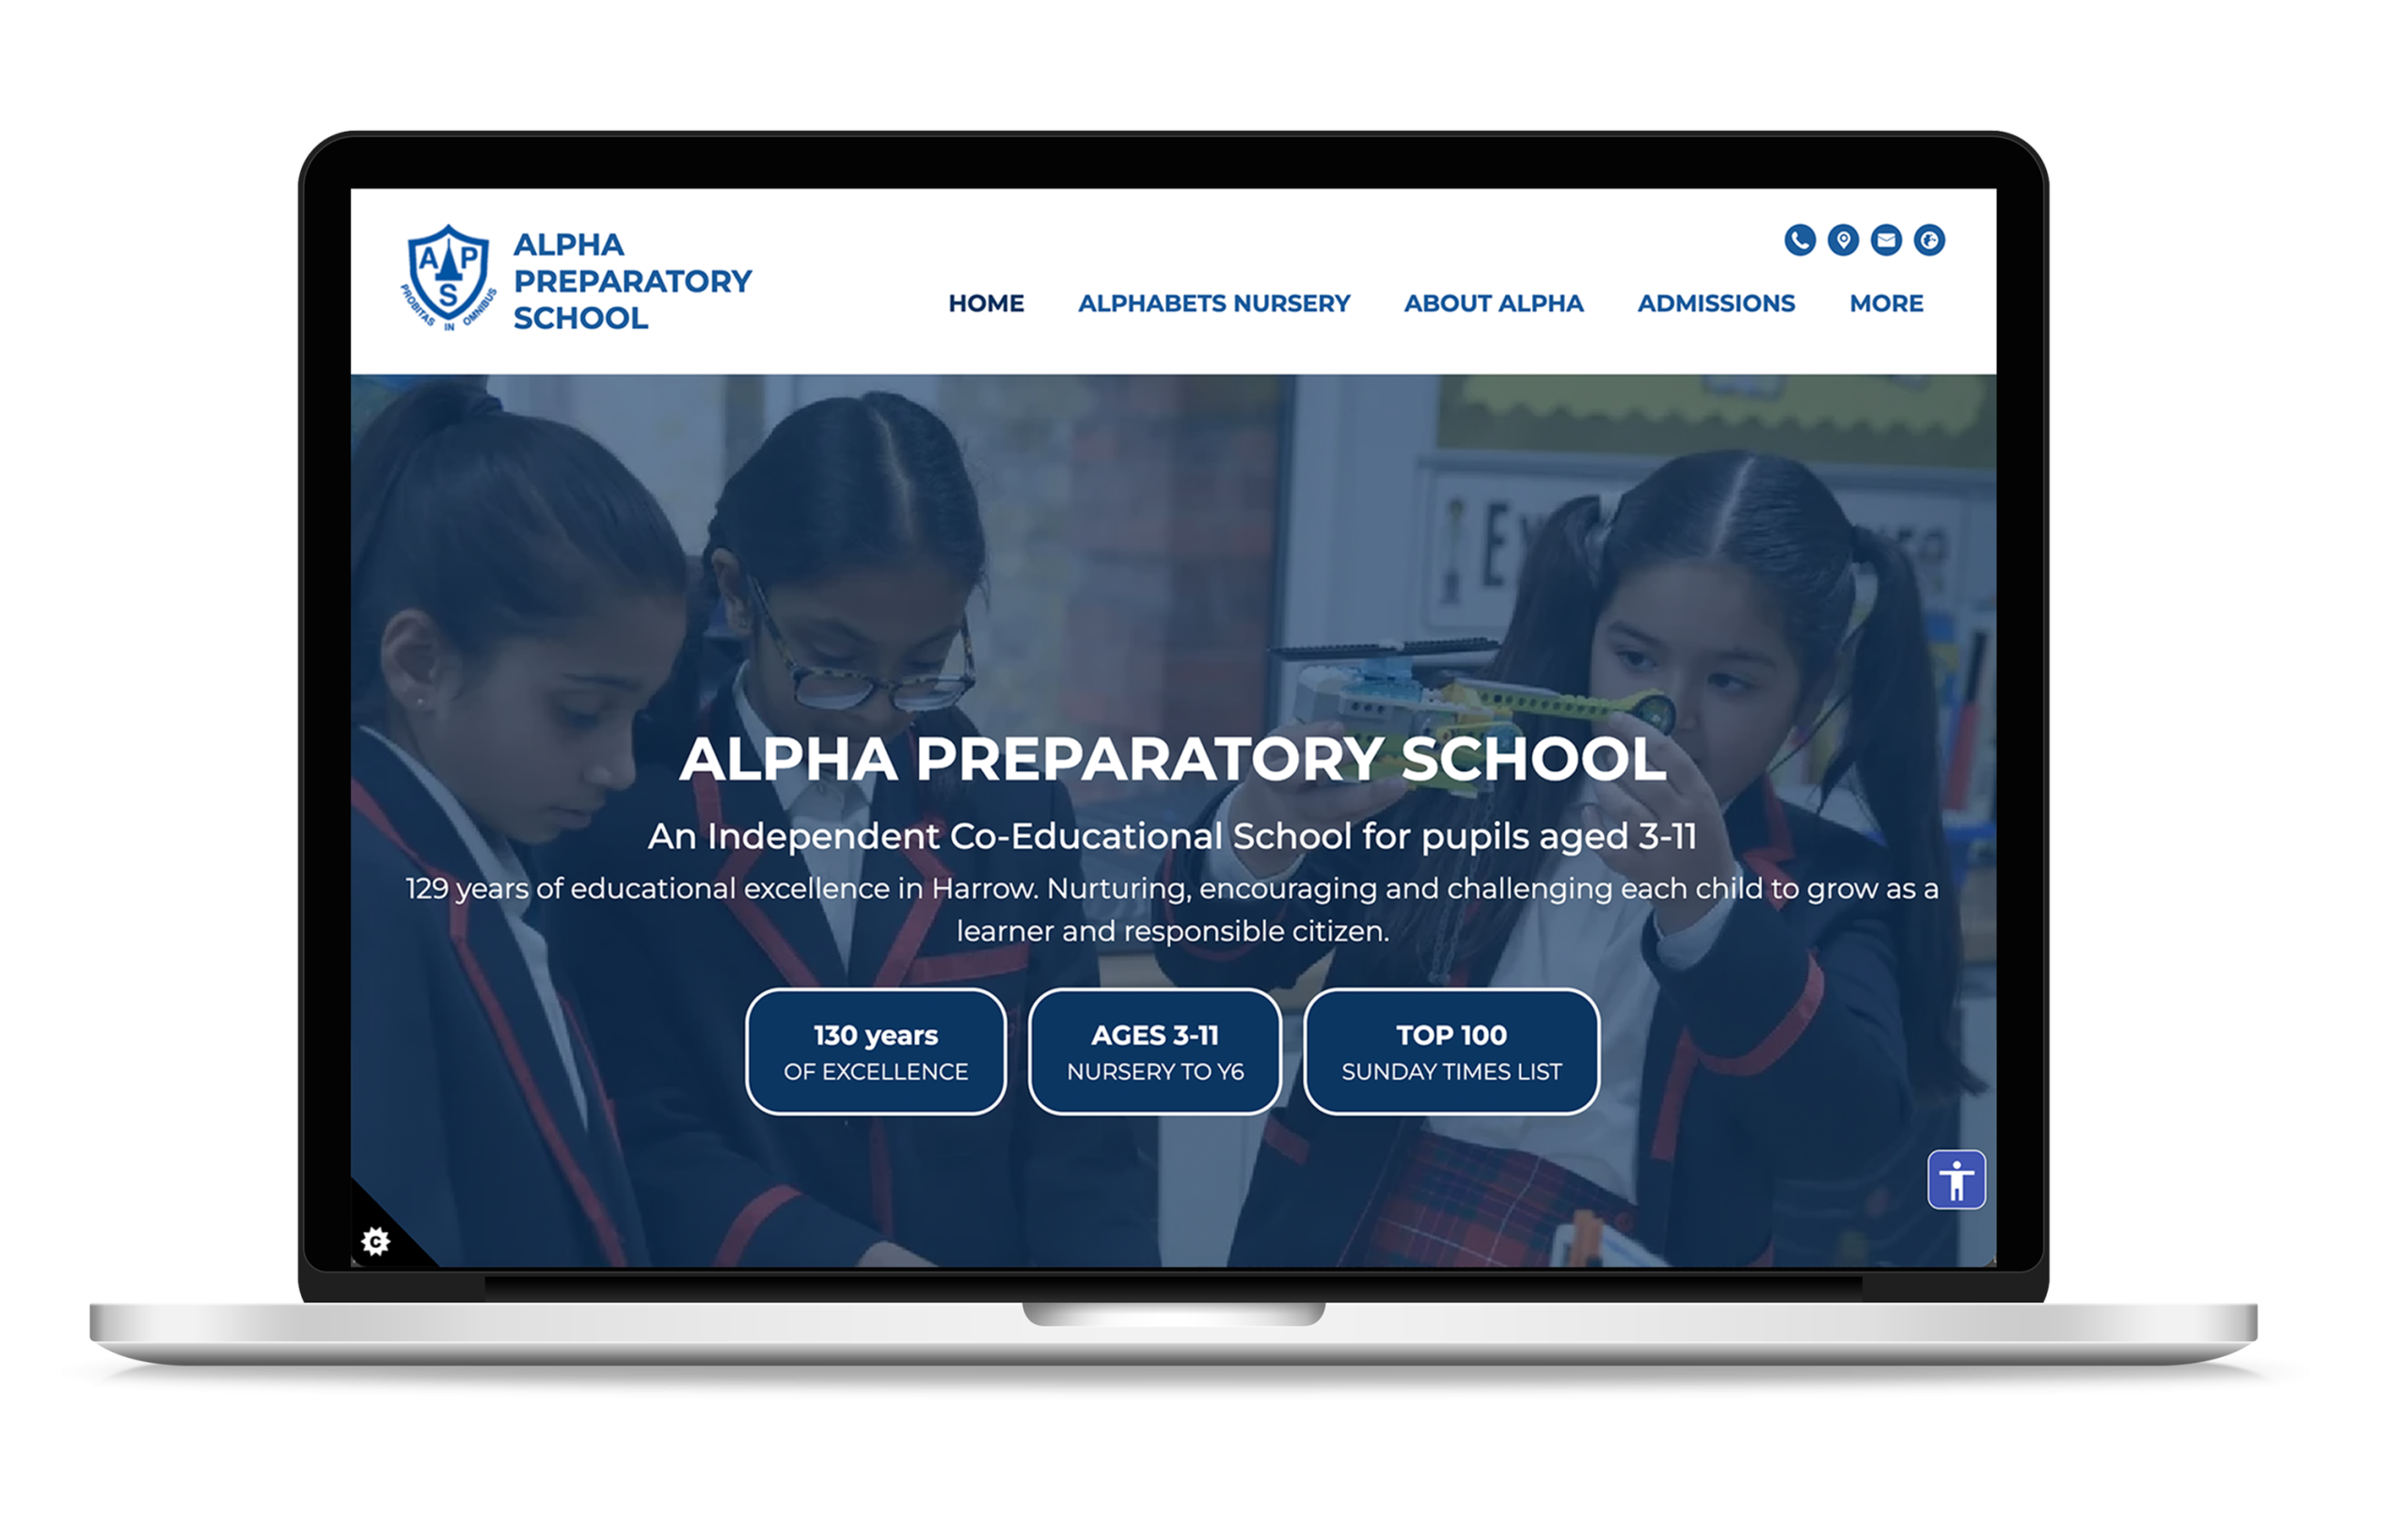
Learning for life trust wanted the gold standard in school web design. The trust requested a website that appealed to both parents and pupils and reflected the nurturing settings of the school. Clear in layout, bright colours and a friendly design this website captures the essence perfectly of the school. With bright colourful headers it makes the website easy to navigate whilst being an enjoyable experience for parents,
https://www.alpha.harrow.sch.uk/
Hamilton Primary School
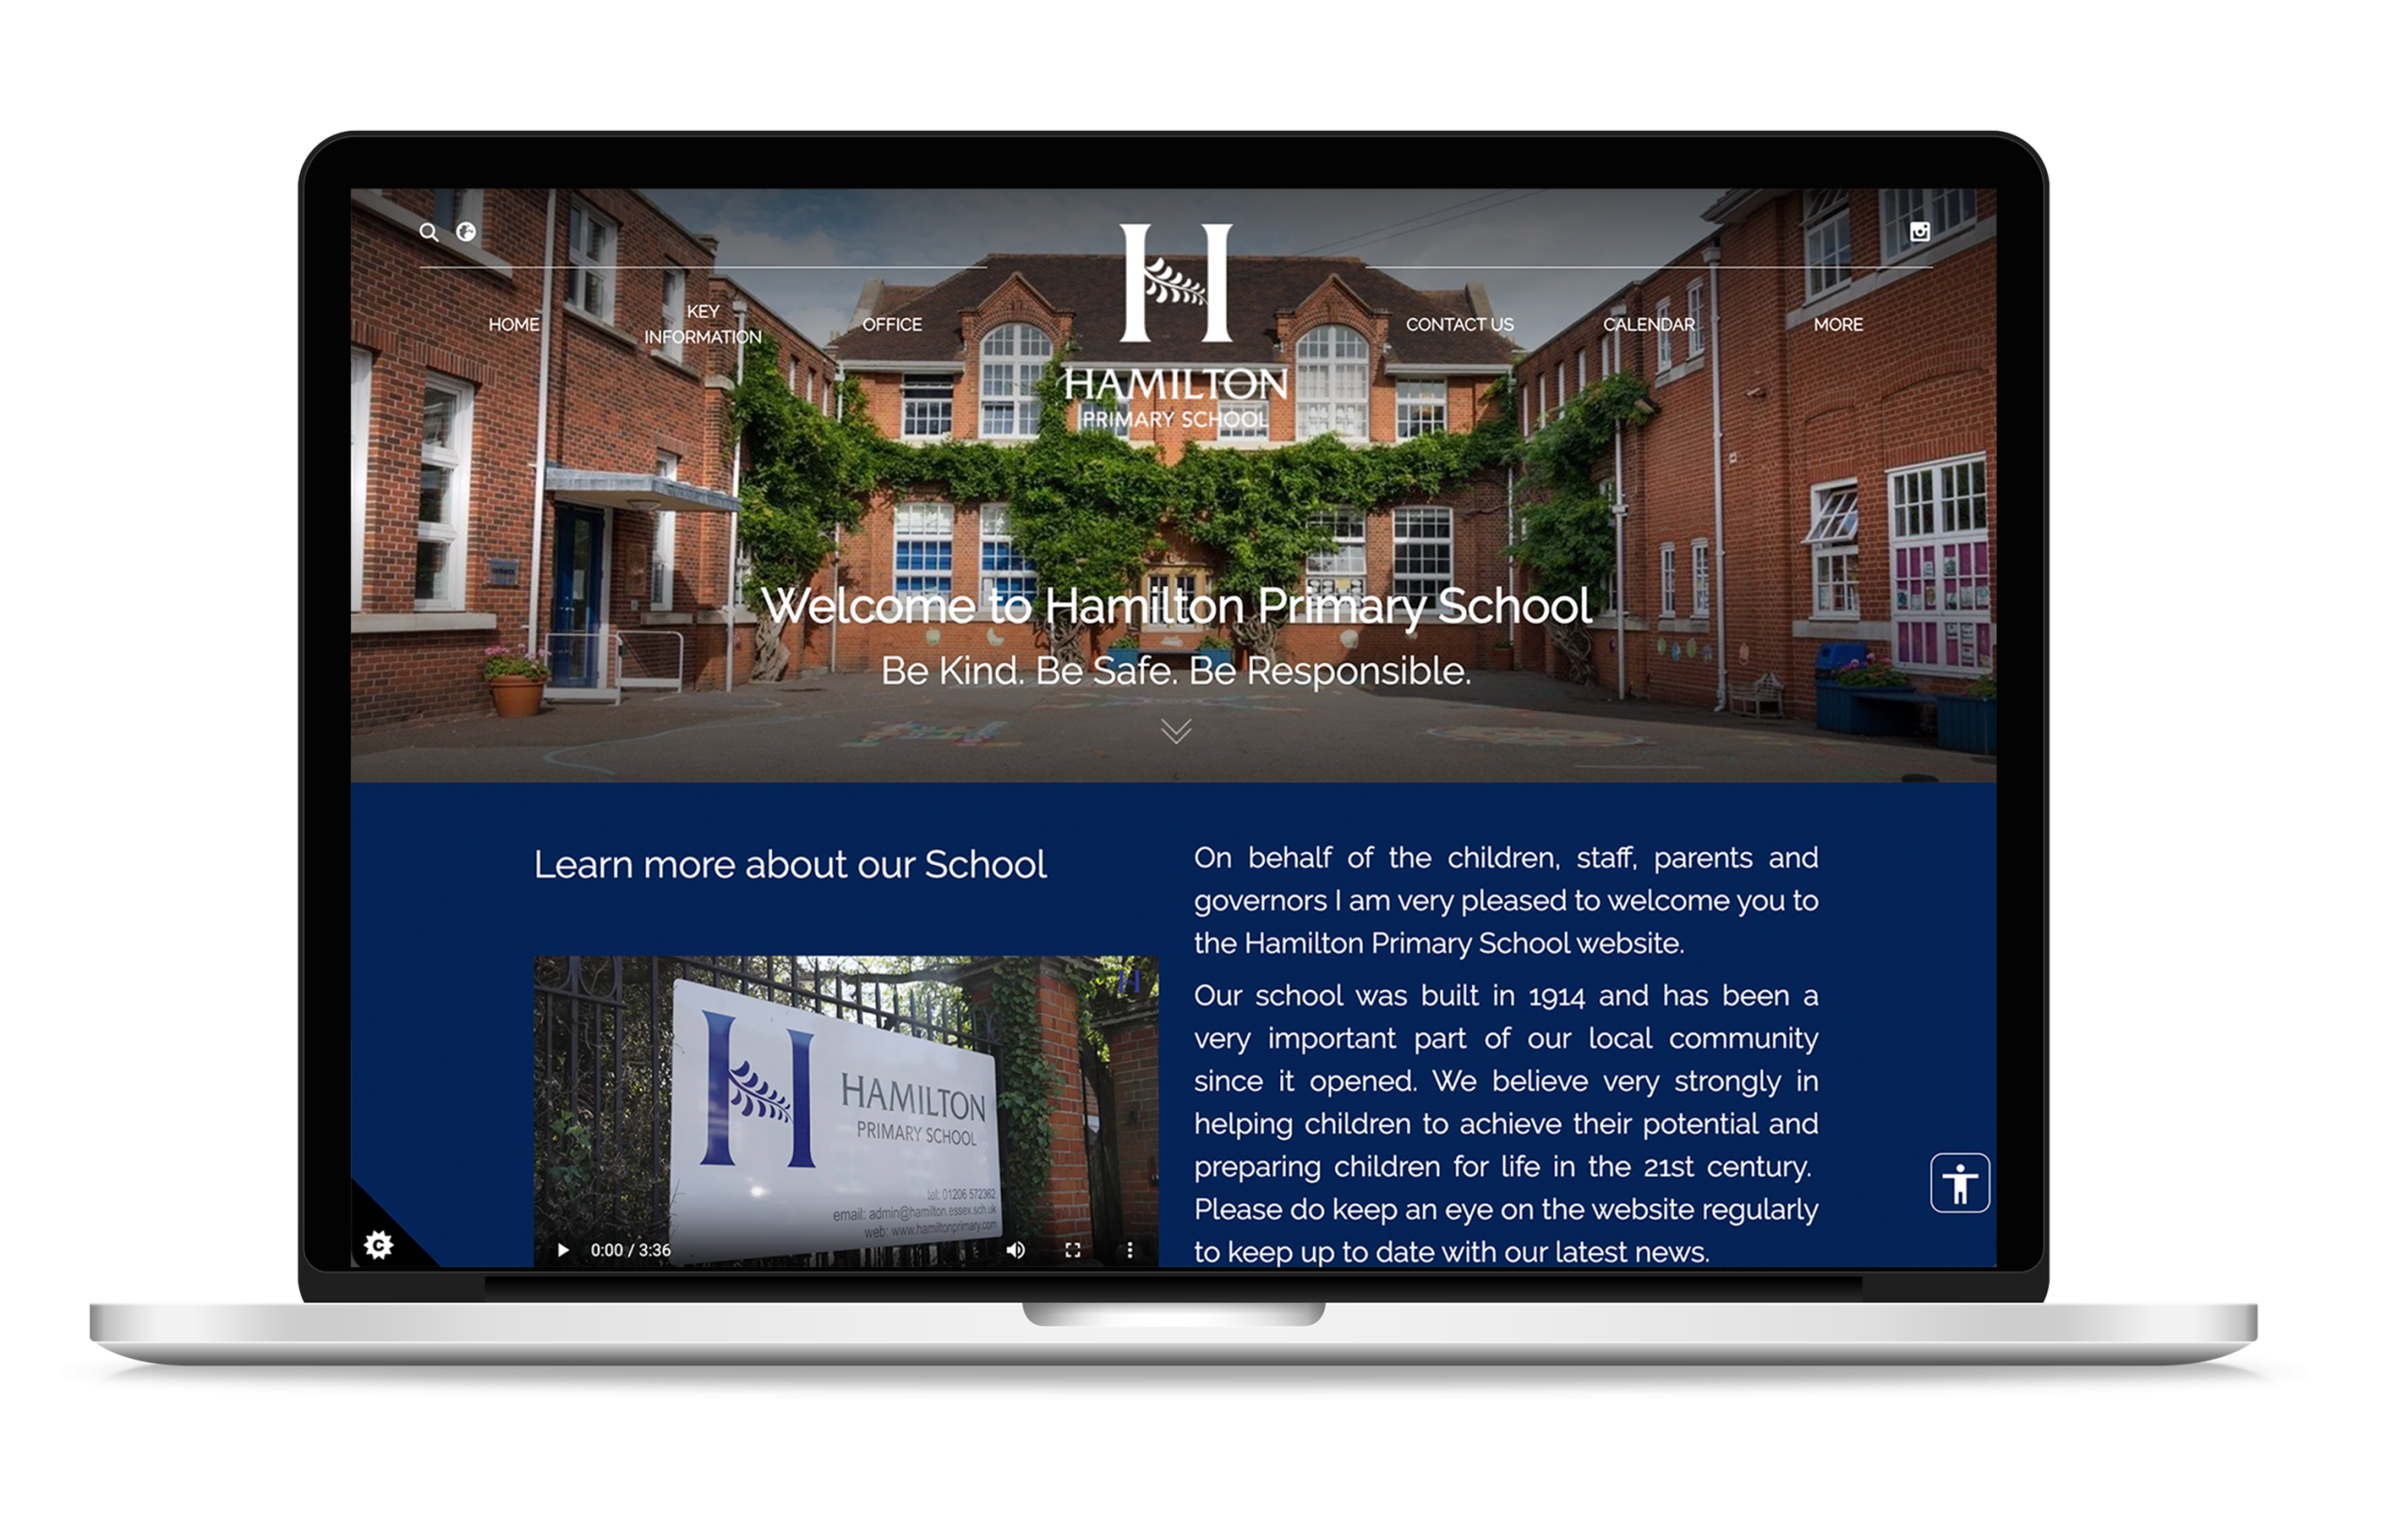
When looking for a new website St Josephs had a strong vision of what they wanted. A clear, modern, simple website. Our graphic design sat down with the Head to bring their vision to life. We also created a curriculum page for the school allowing parents to learn about the subjects taught in schools. St Josephs also have a social media wall to the left of the site meaning parents can access their social media accounts in 1 click.
https://www.hamiltonprimary.com/
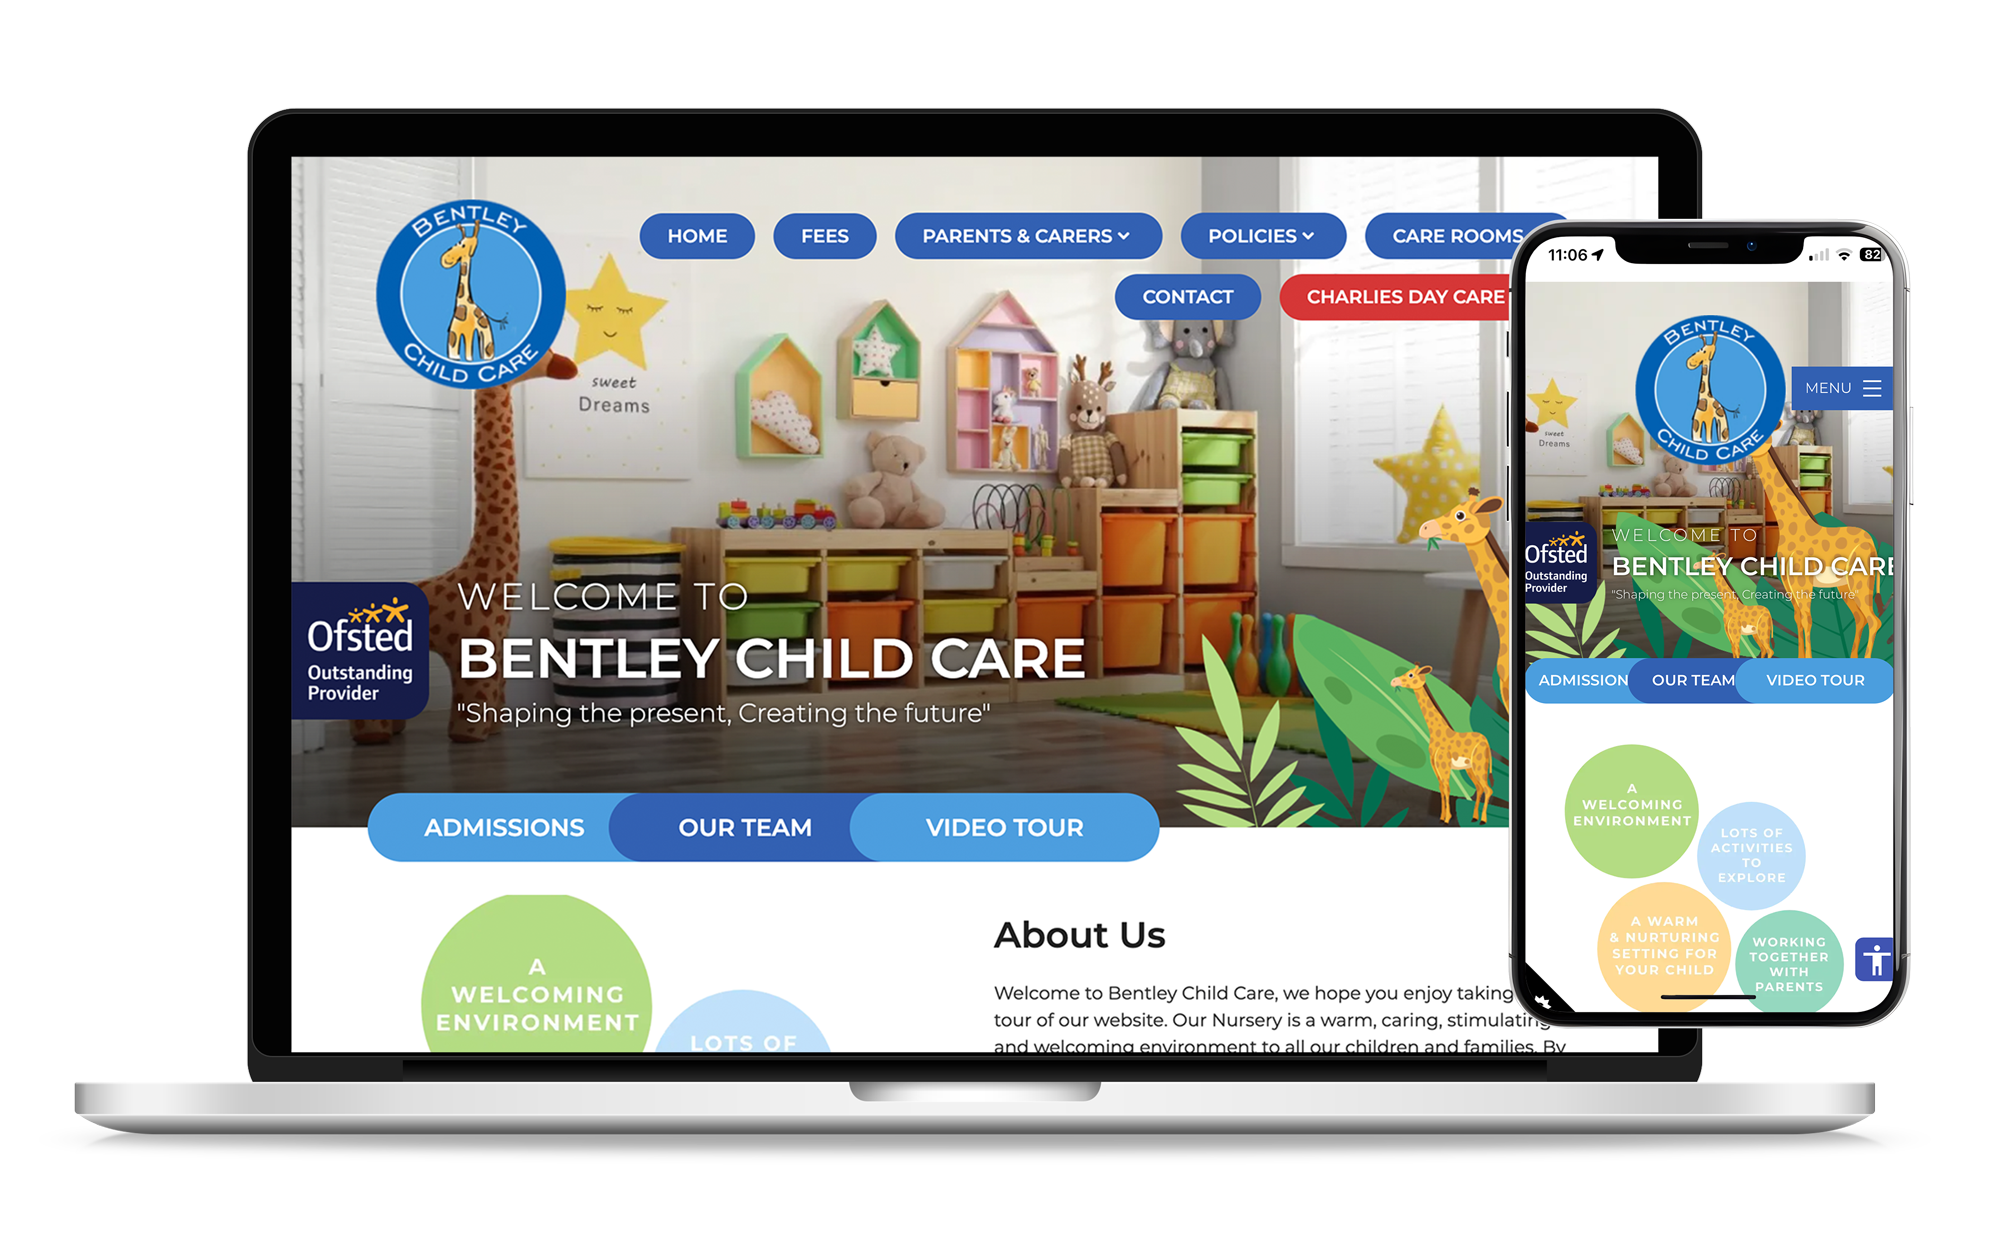
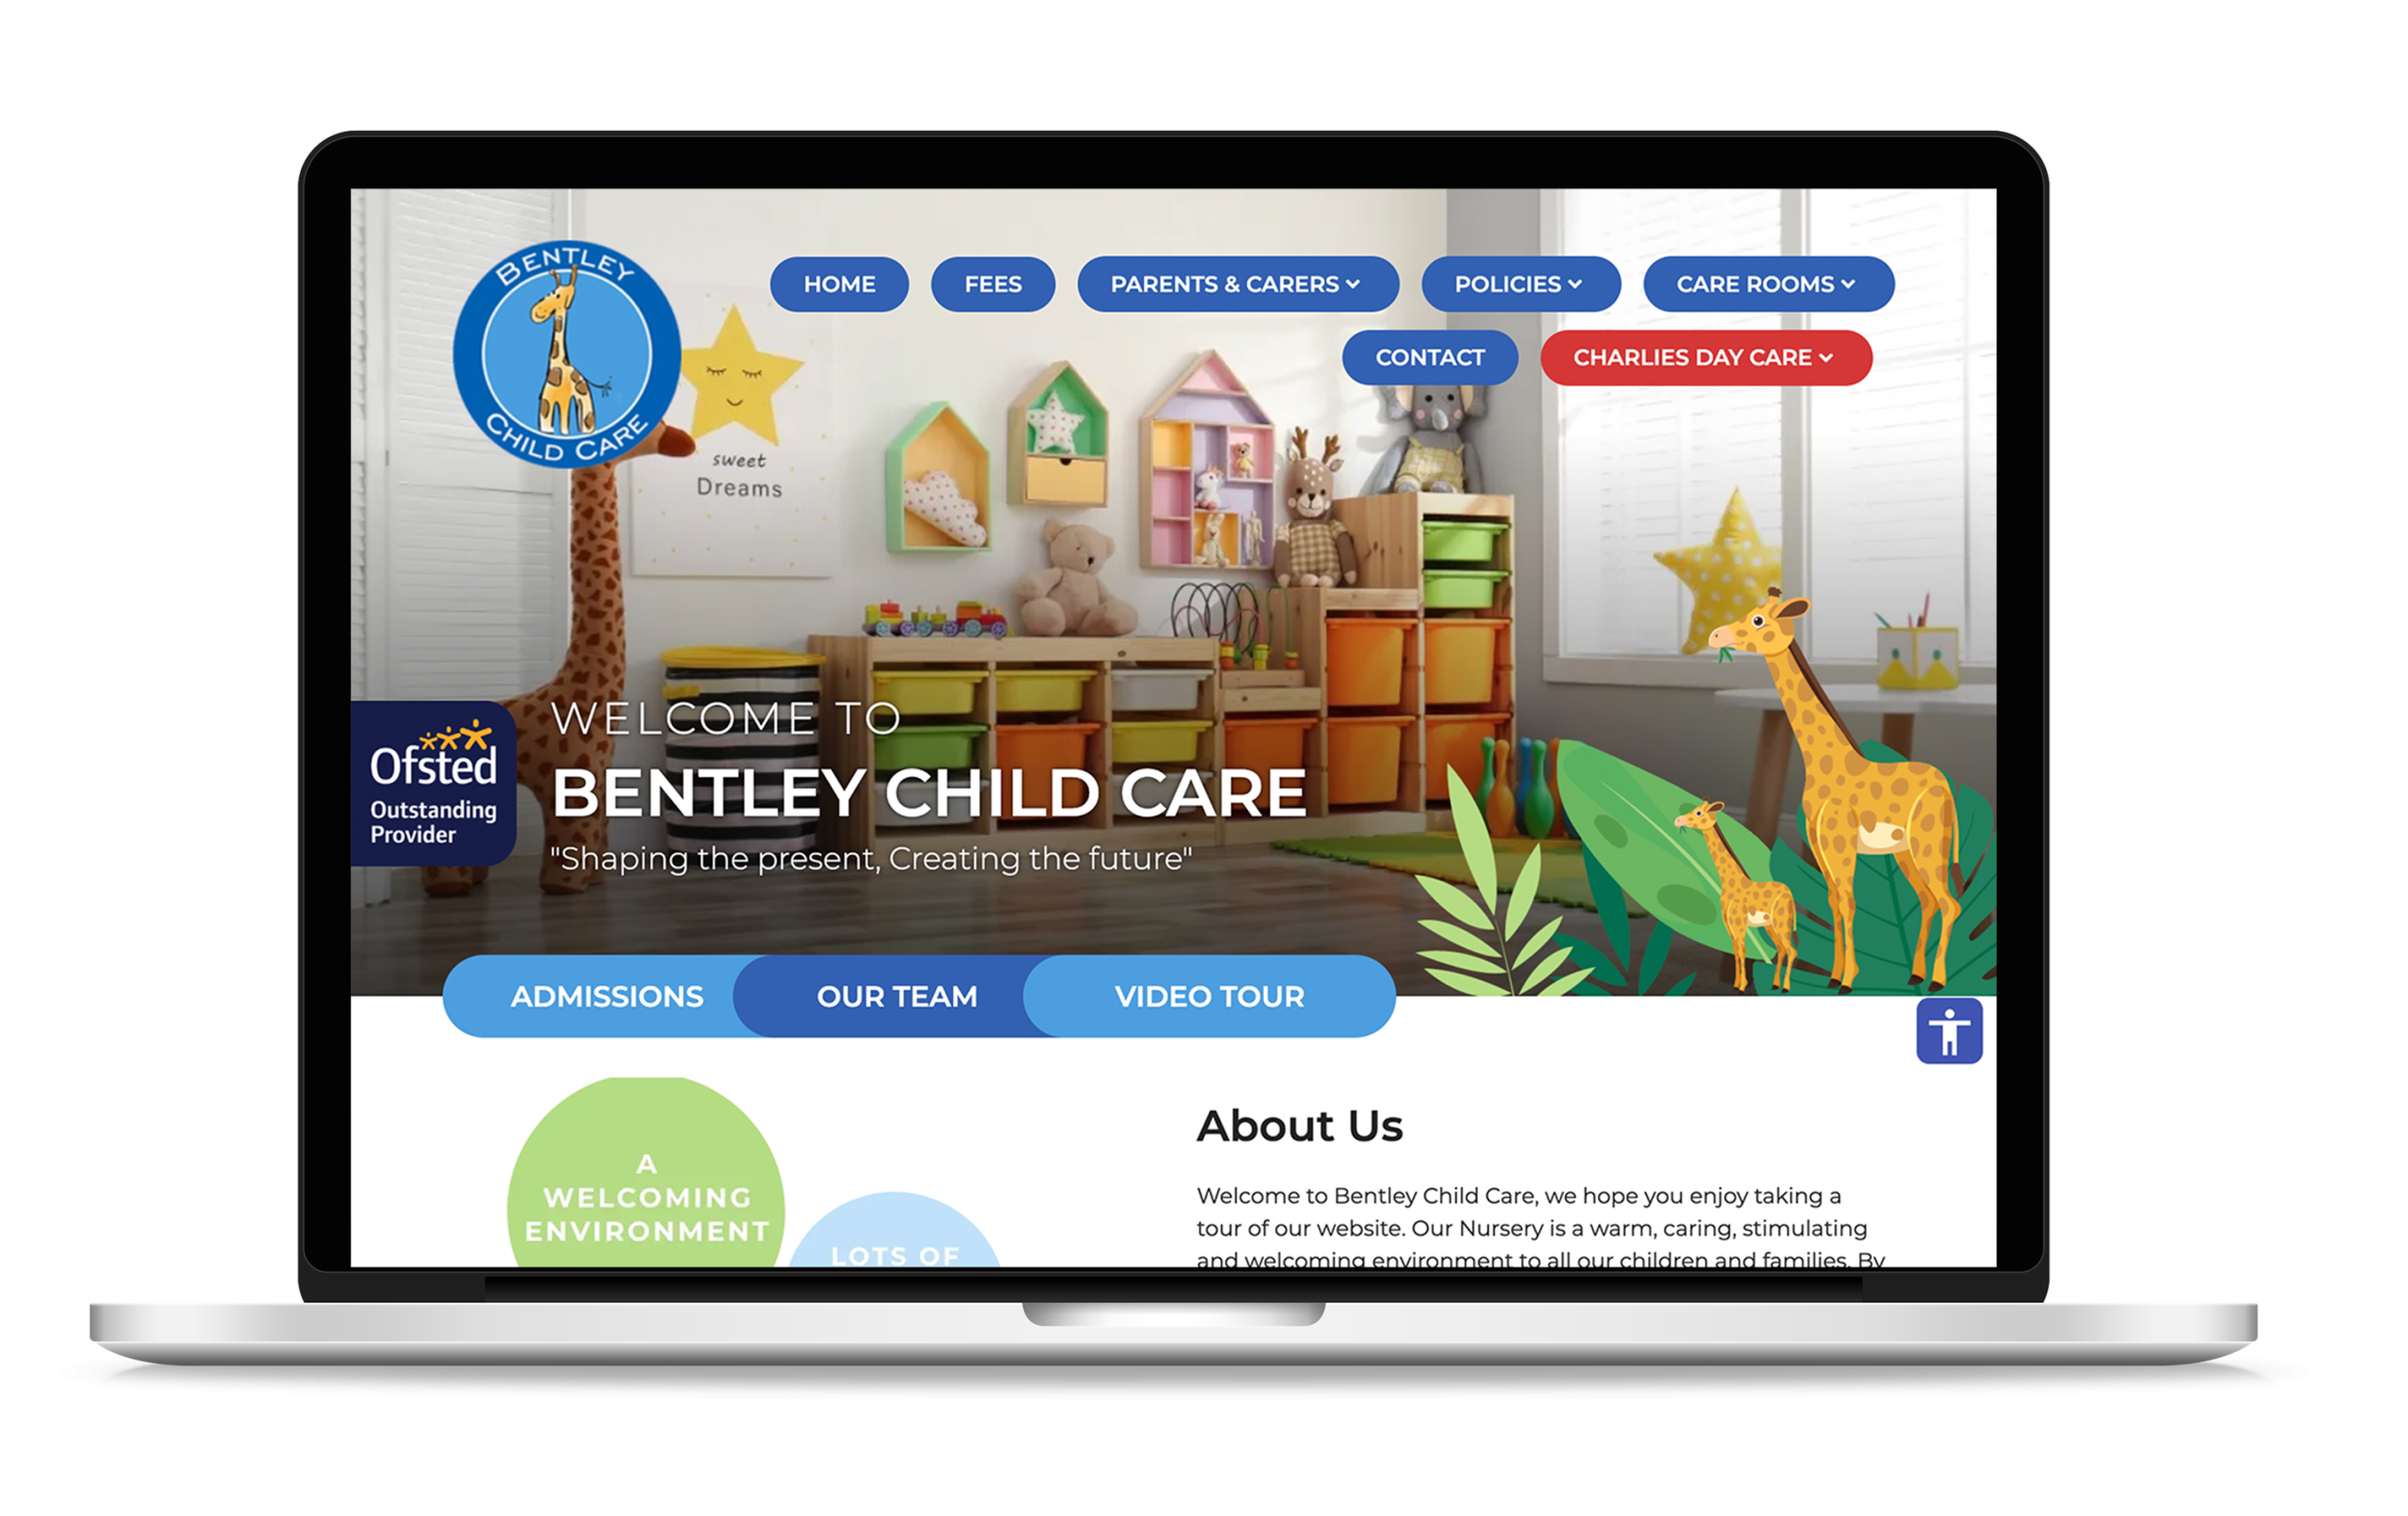
Bentley Child Care
Dair House Private school approached us to modernise their website to attract more parents to look around the school. After speaking with the school we established what we needed to portray on the website. We focused on a clear layout but with richness of content including key dates for the diary, a video and newsletters.
Unity Multi Academy Trust
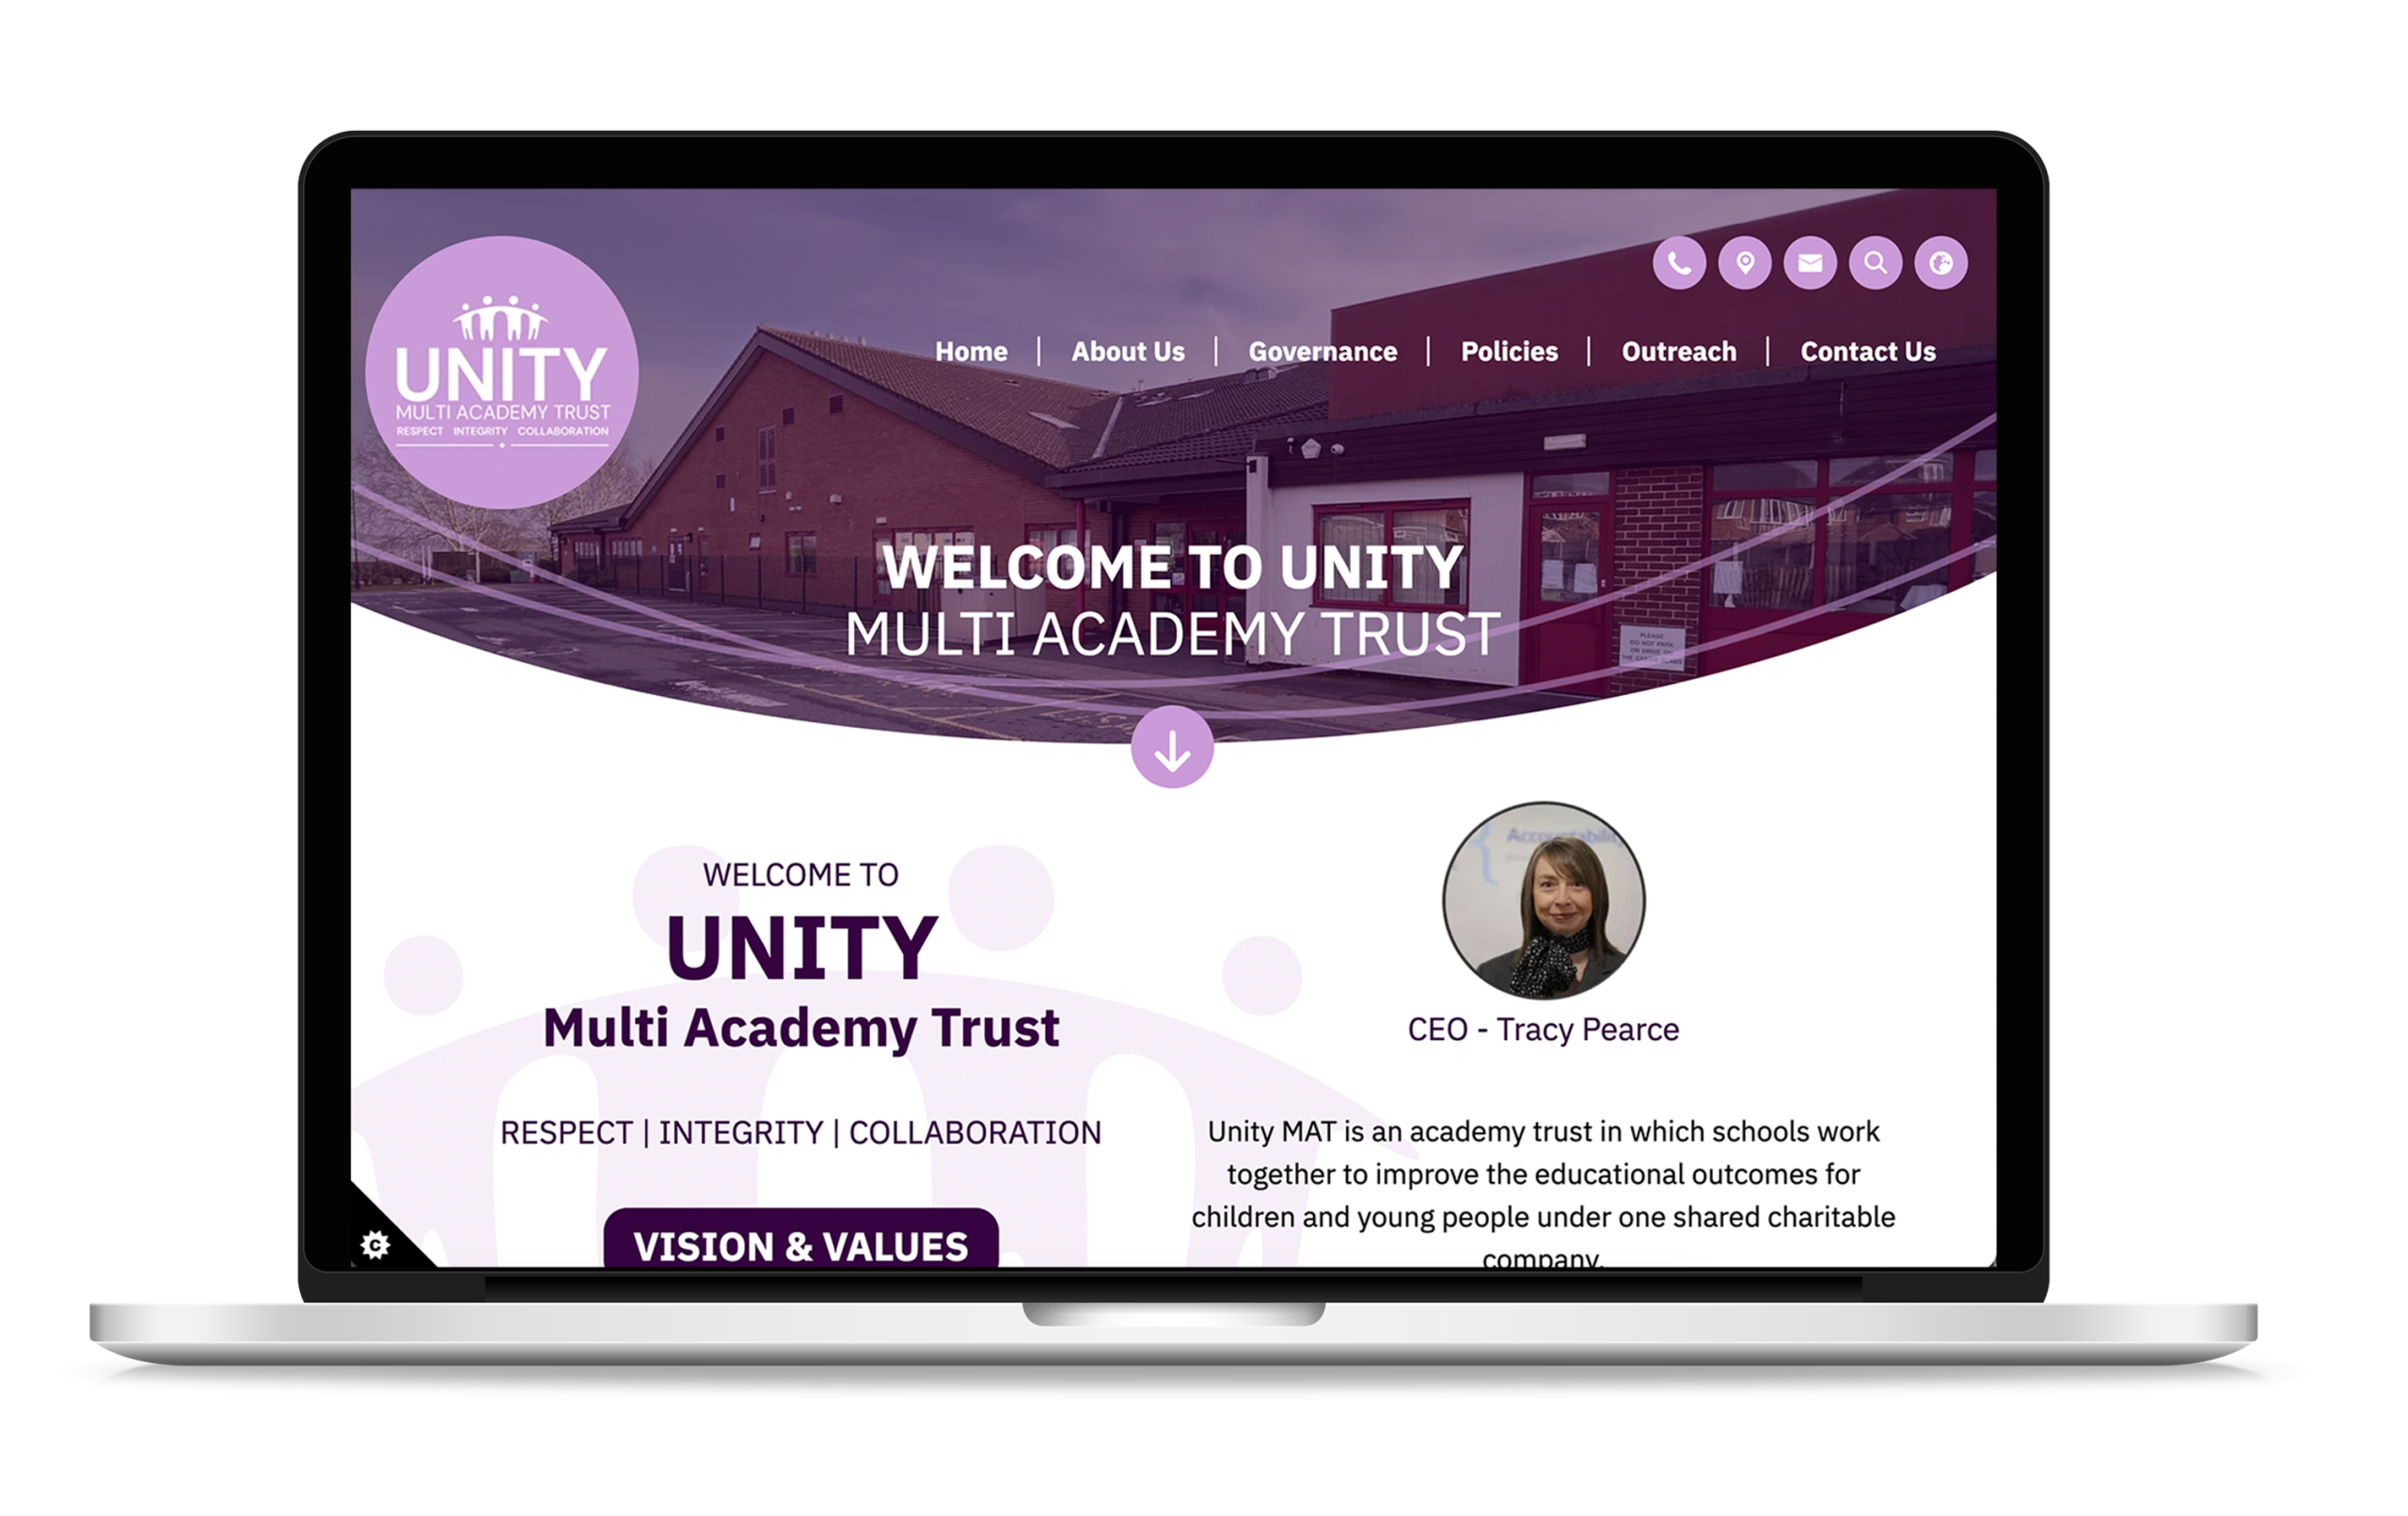
Rothely C of E school wanted a website to showcase the school in spectacular fashion. We worked with them to create a fun, colourful and vibrant website. With an opening introduction song of ‘The continents’ fading purple writing as well as slideshows in the background of all pages this website lifts spirits and illustrates to parents the lively spirit of the school.
Mulgrave Primary School
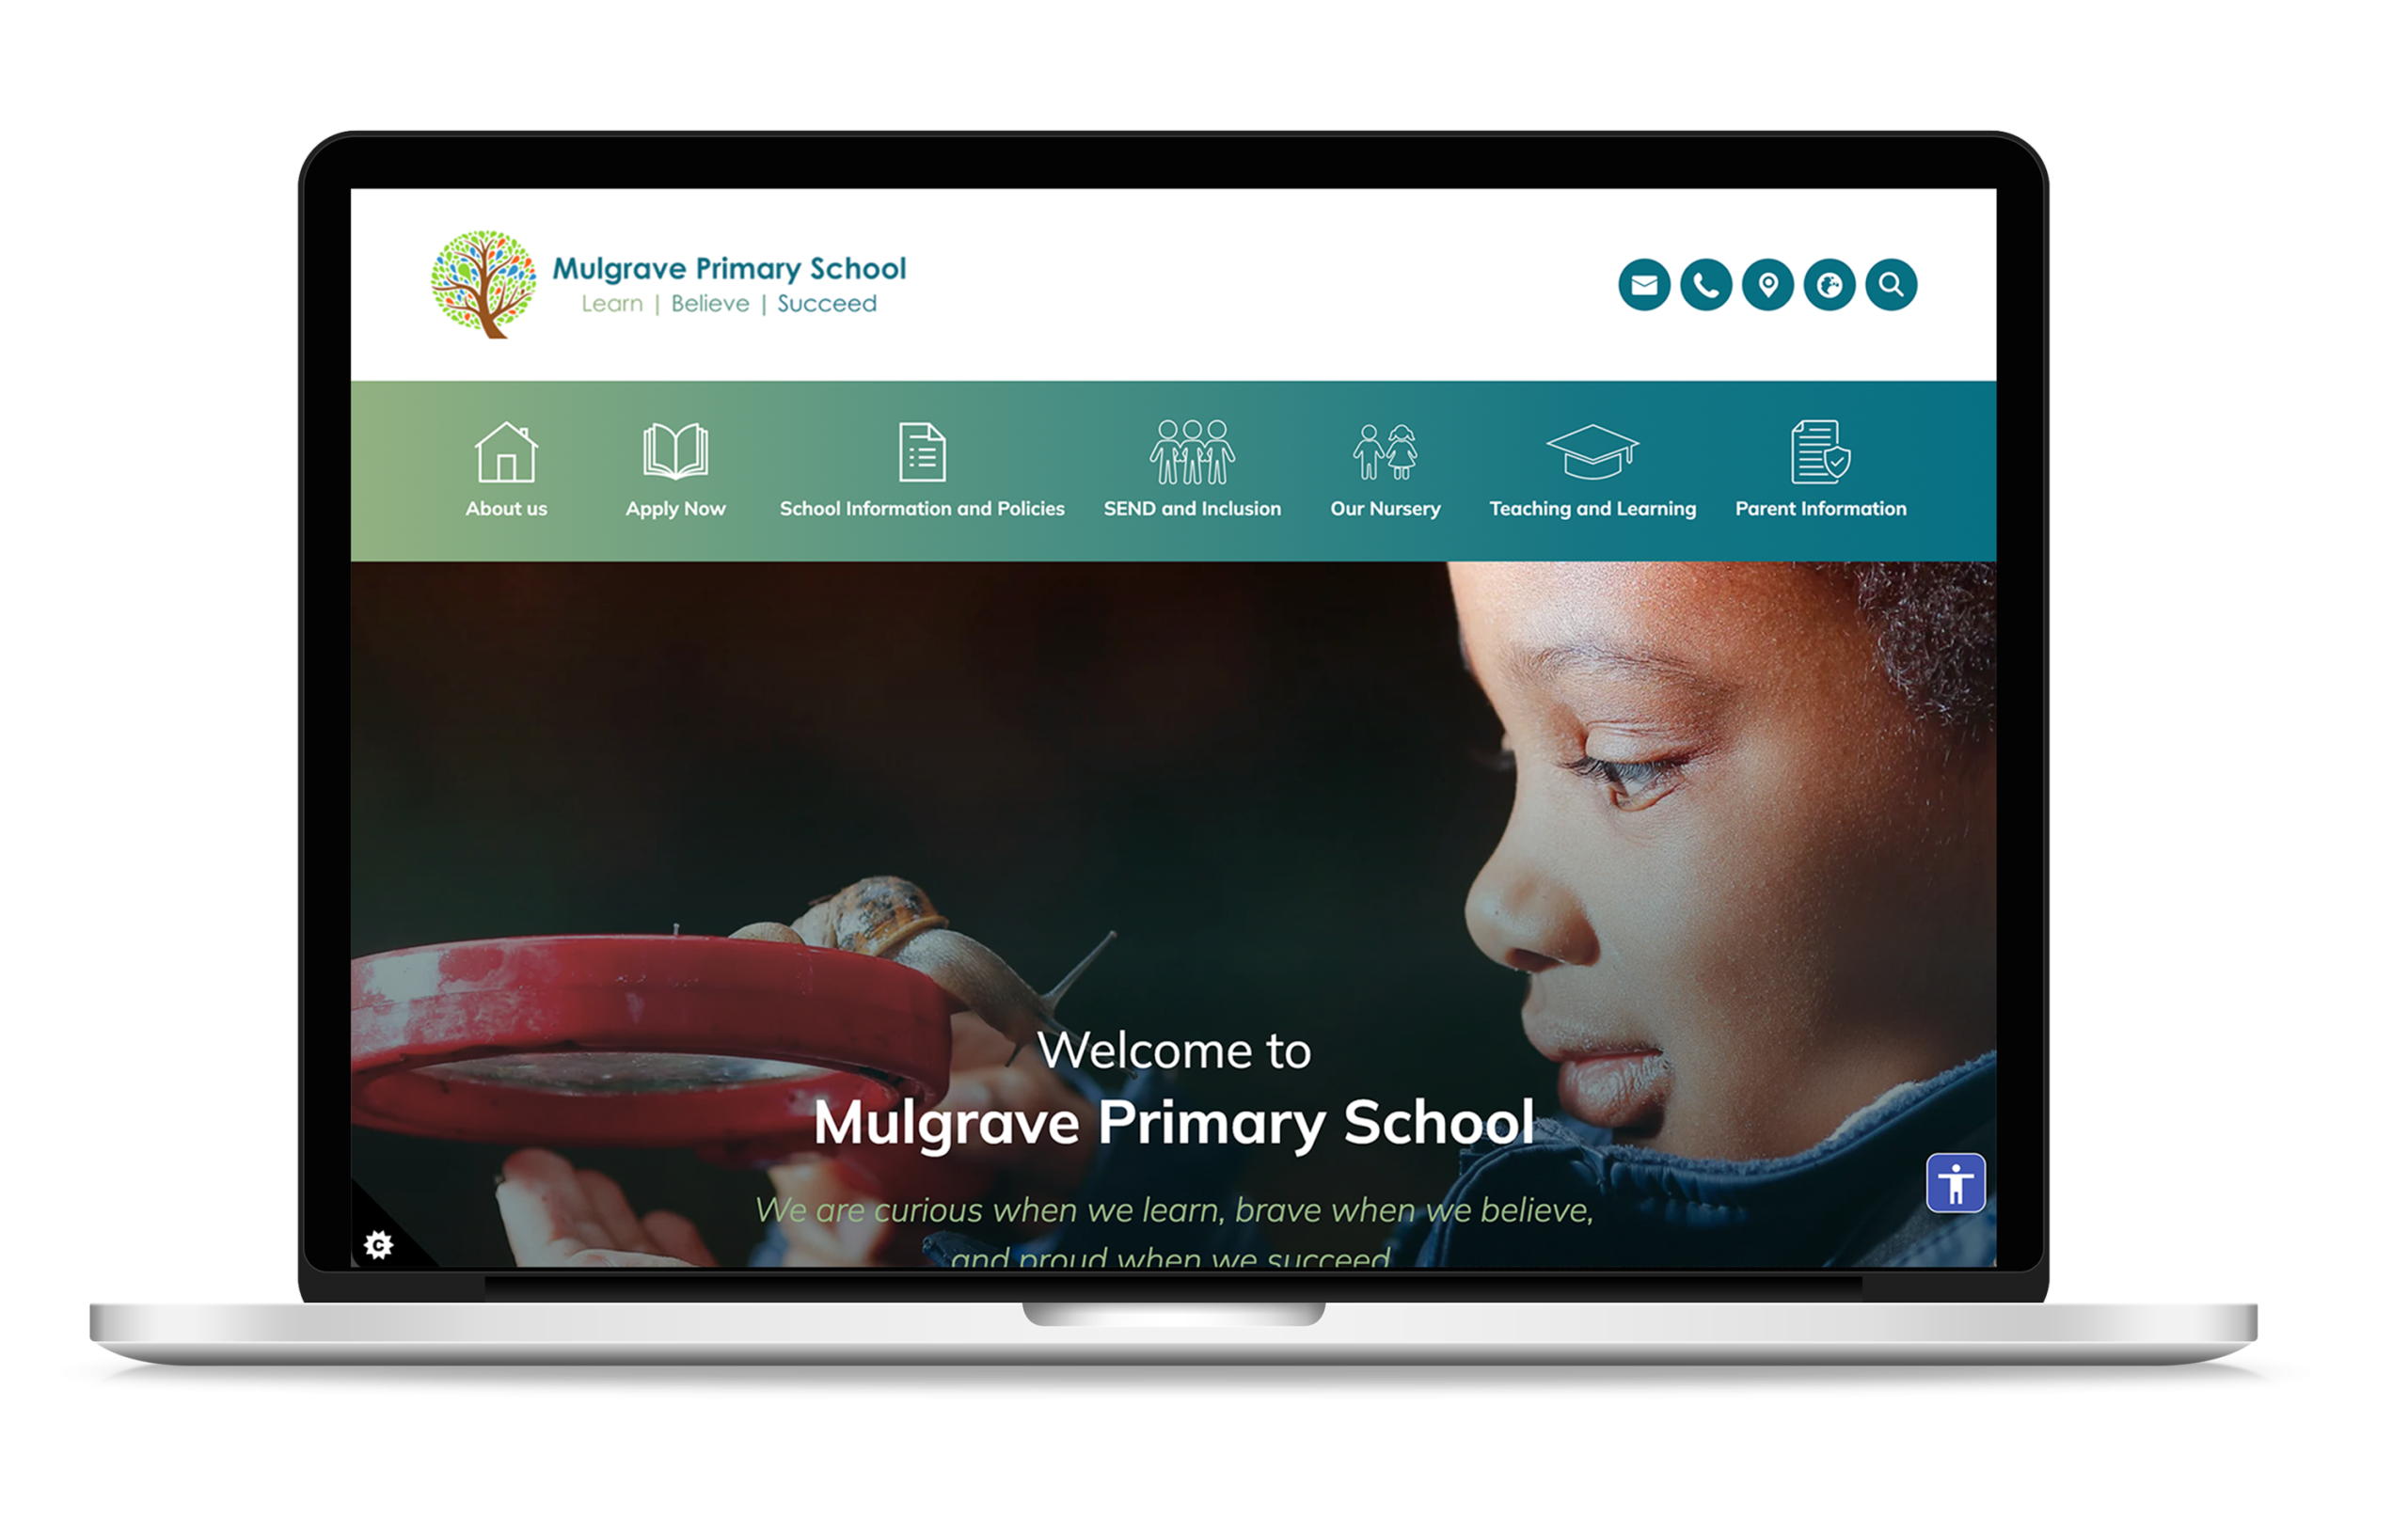
Areté Learning Trust’s website mirrors its core values of excellence, purpose, and aspiration.
Inspired by the Greek concept of ἀρετή, the site is clear, modern-looking and easy to navigate. This ensures that parents, students, and staff can quickly find what they need.
With a strong visual identity and engaging content, it perfectly captures the trust’s commitment to helping every child be the best they can be.
https://www.mulgraveprimary.org.uk/
Thomas Deacon Education Trust
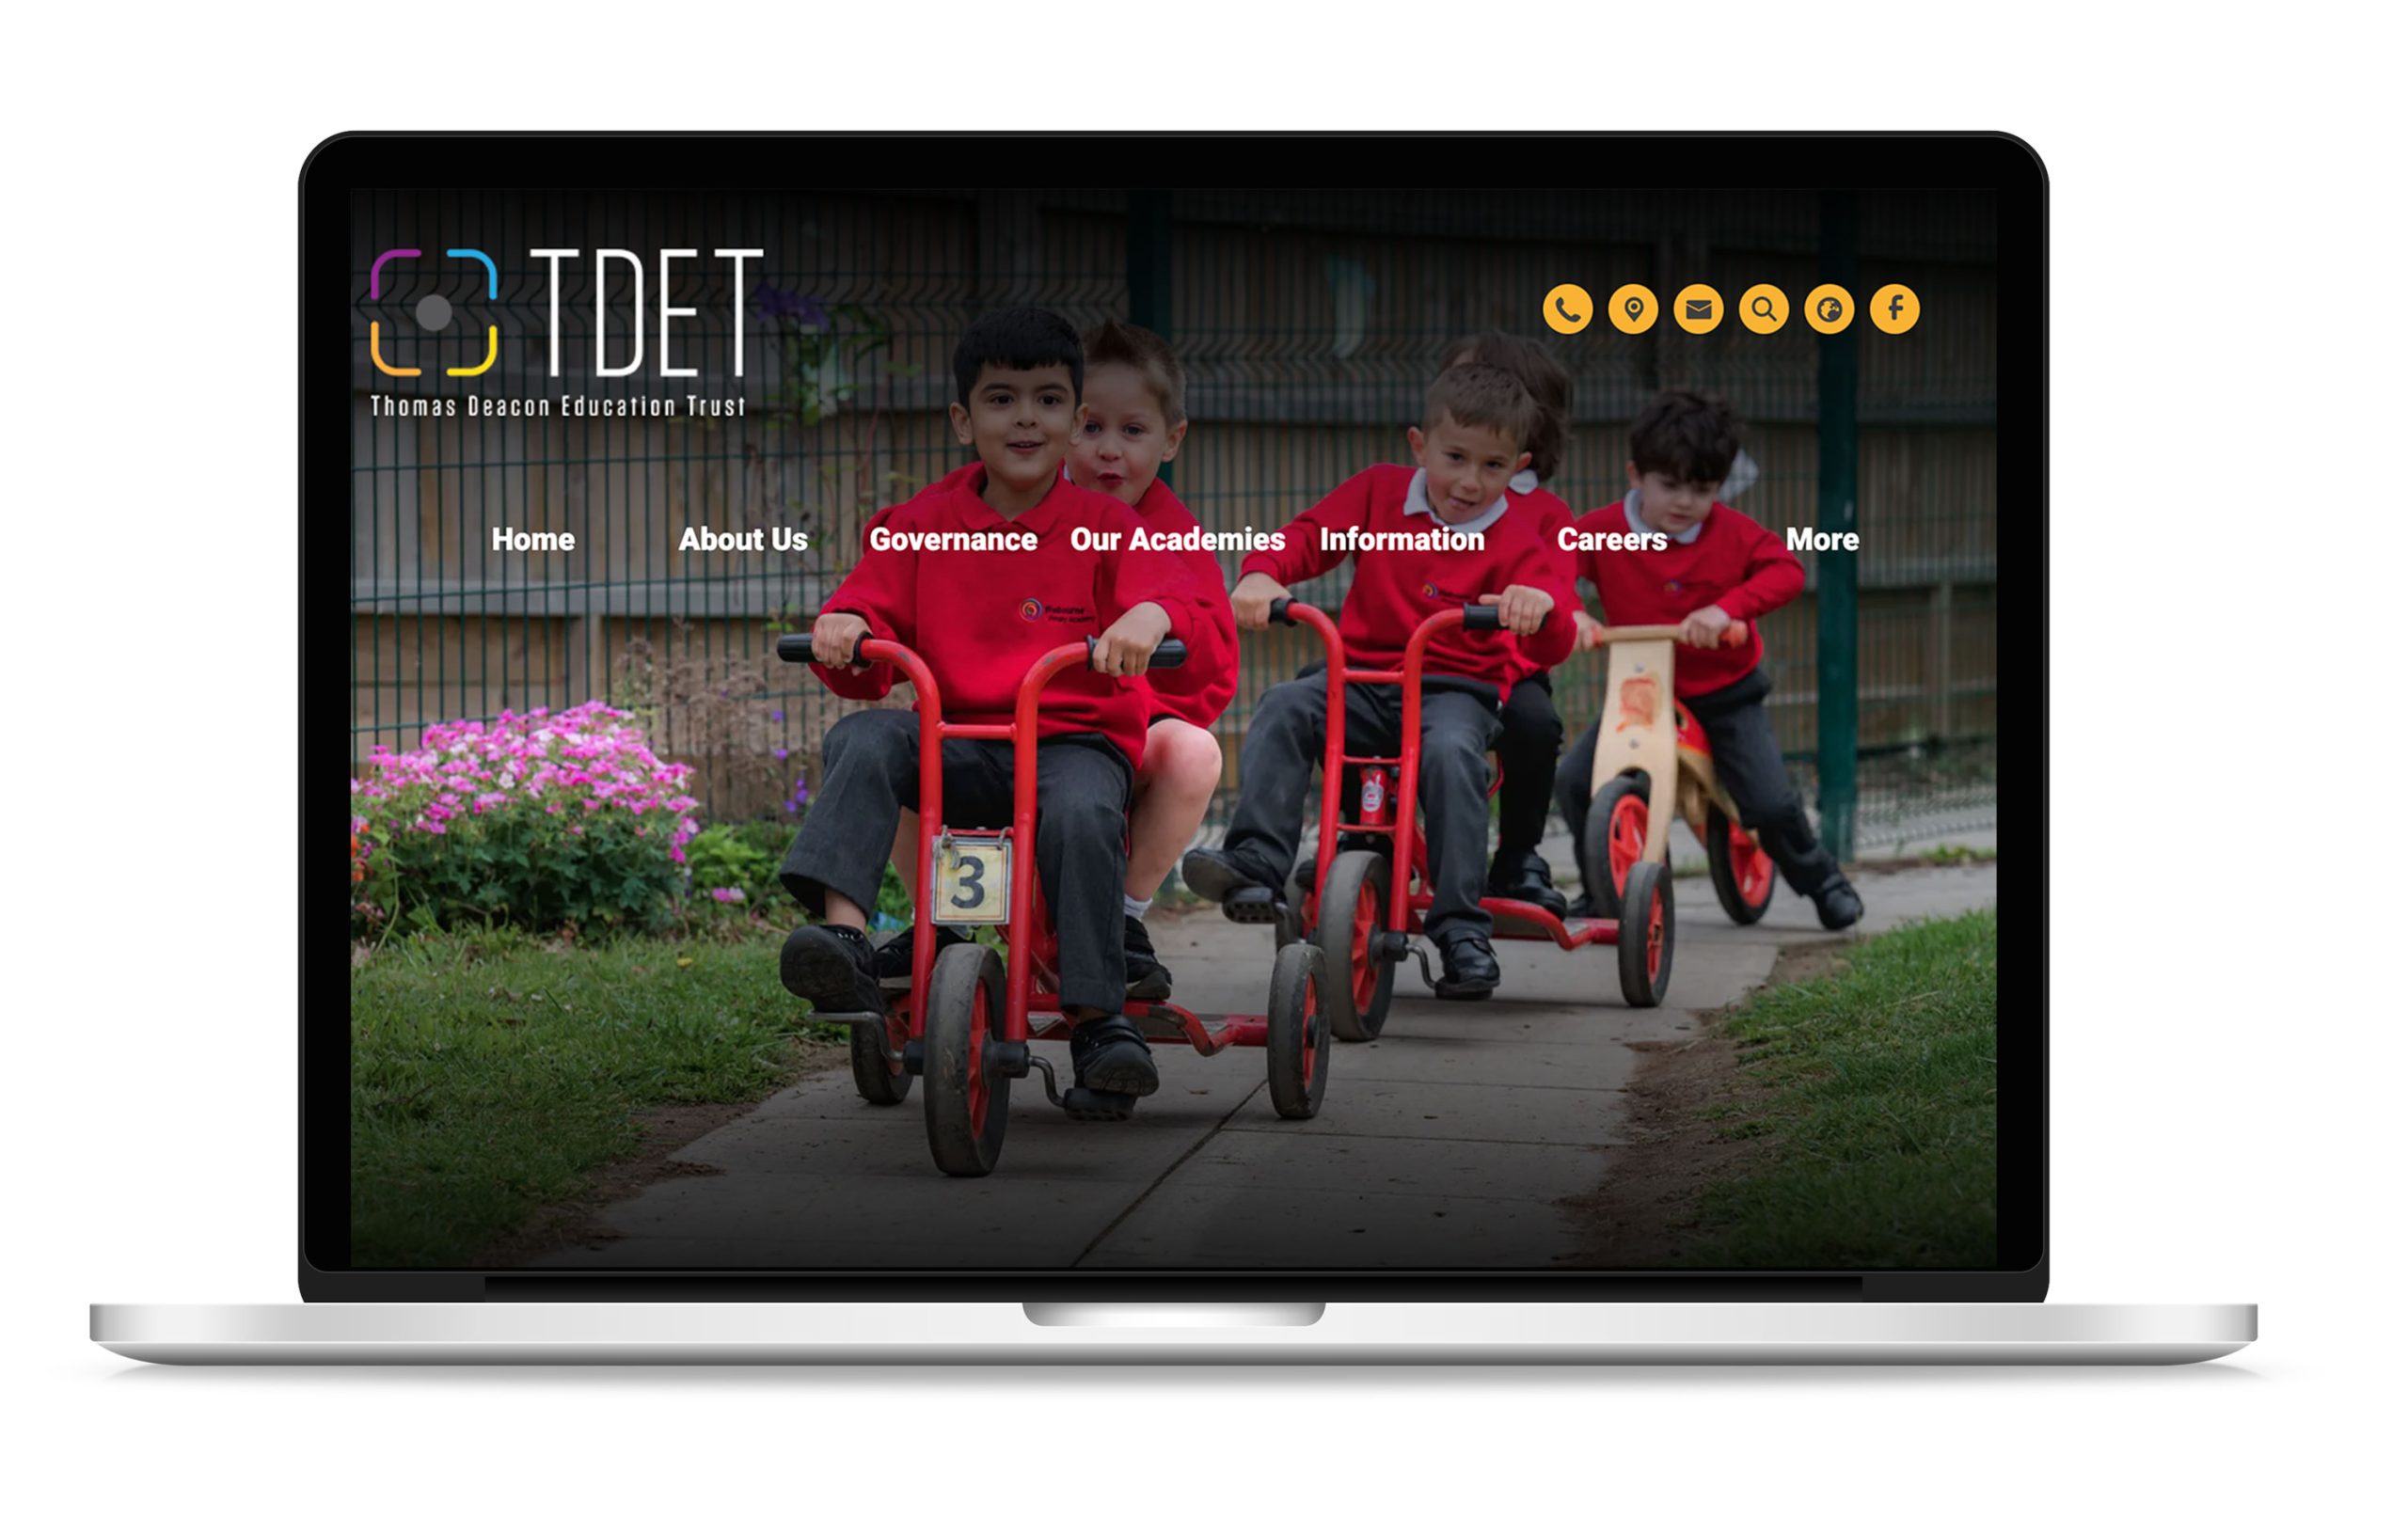
Oakfield Primary Academy’s website was designed to reflect its welcoming and inclusive ethos as it provides a clear and engaging insight into school life.
The colour and design capture the school’s ethos and branding. The website offers easy access to curriculum details, events, and key resources, making it a valuable hub for both current and prospective families.
Saint Georges Preparatory School
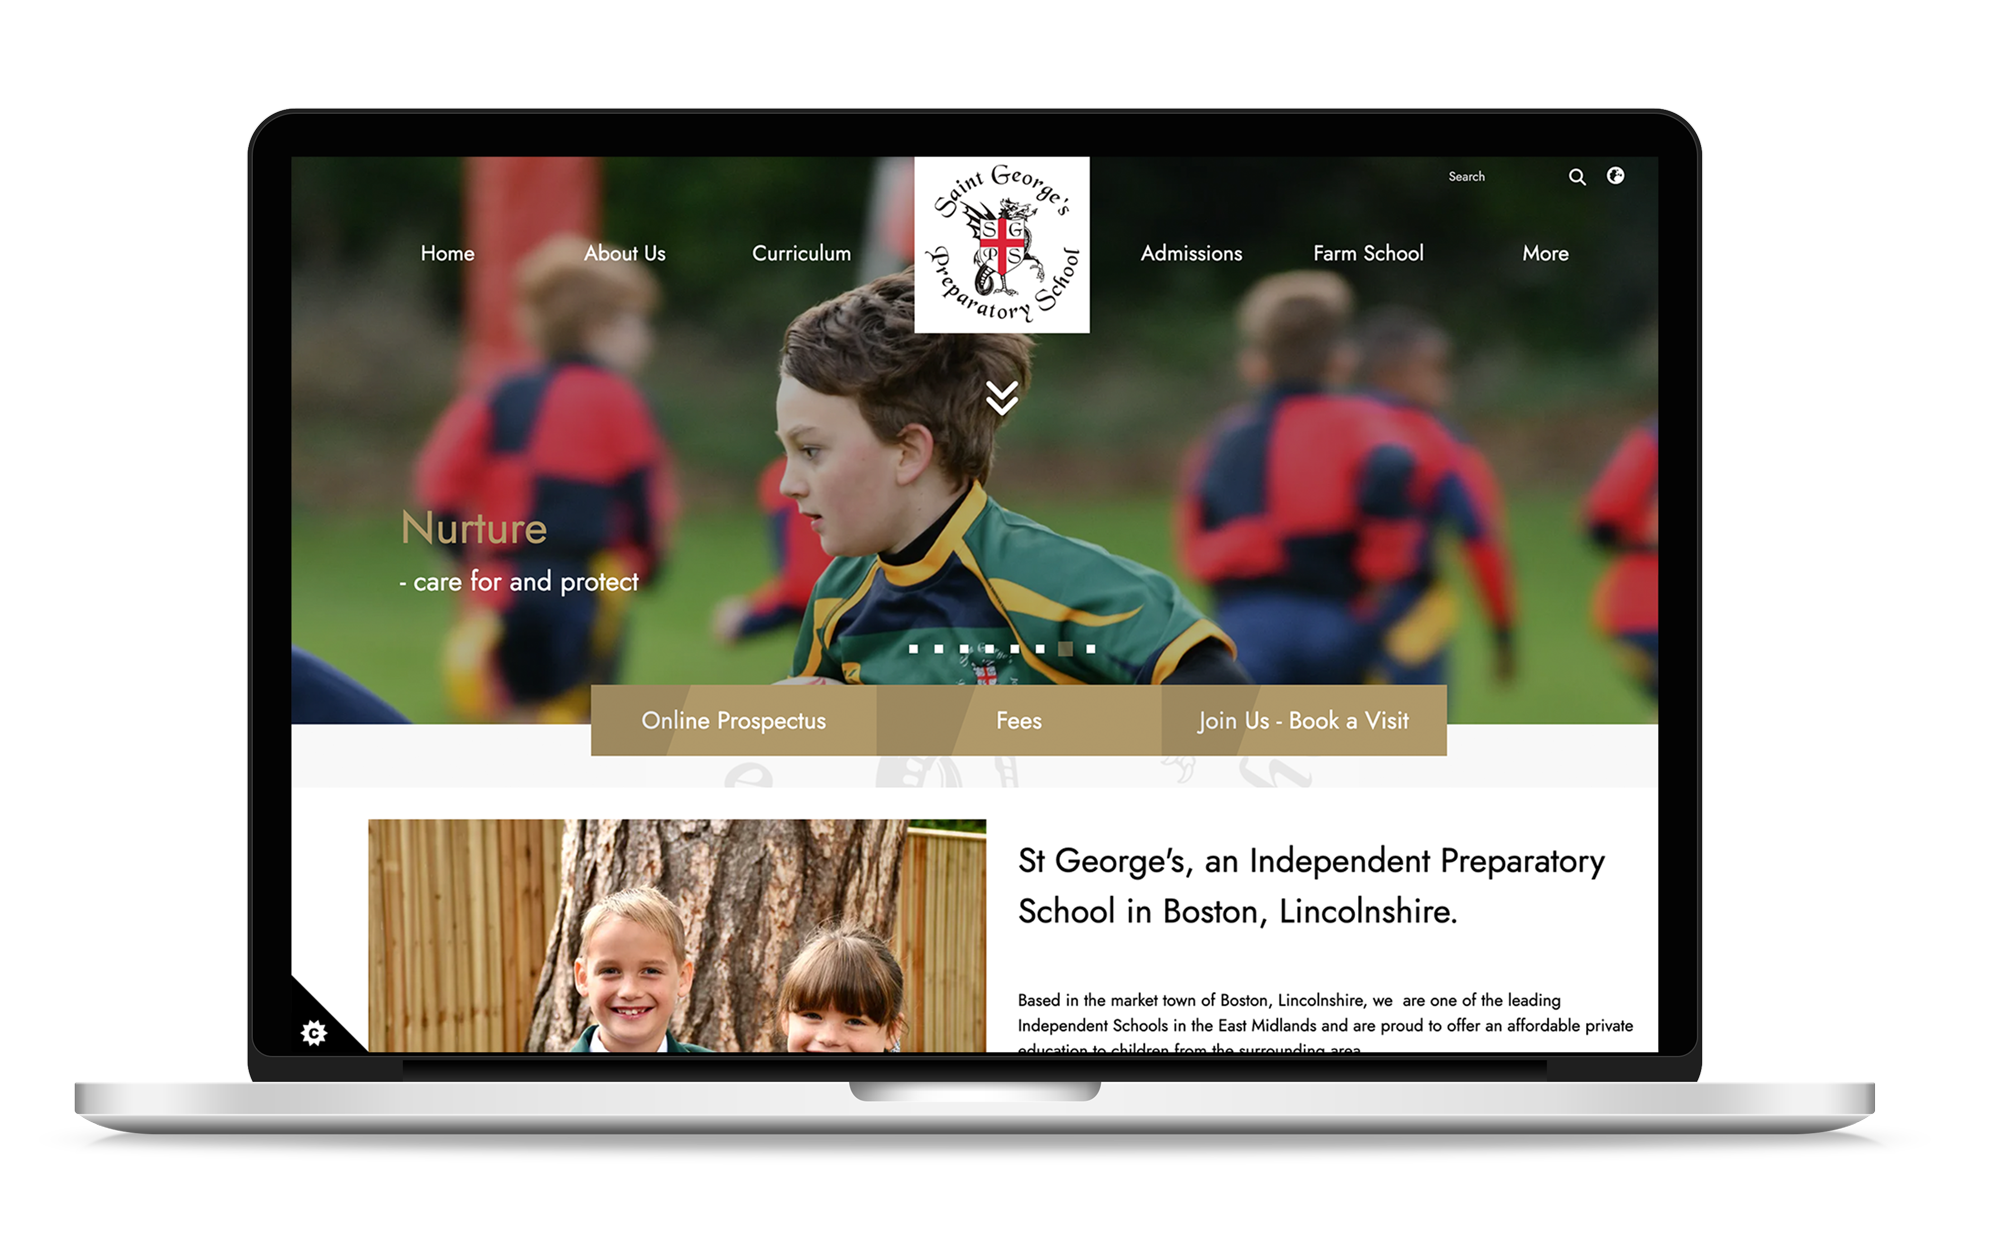
https://www.saintgeorgesprep.co.uk/
Build Your Schools Perfect Website
A great school website is more than just an online presence, it’s vital for communication and engagement. The best school websites of 2026 are easy to use, mobile-friendly, and have the right information for parents, students, and staff.
Since 2007, School Jotter has helped over 4,000 schools build fast, accessible, and Ofsted-compliant websites.
Get in touch to learn more about our bespoke school website design.